How to Take Screenshots on Mac

thumbnail

It’s quite appealing to save a scene of a TV show as a short clip or as a screenshot. Later, use that clipping or image to create memes for social media. In professional fields, you may need static or video screen grabs to include in articles, reports, explainer videos, etc. macOS makes it easier to take such screenshots using popular apps like Elmedia Player, QuickTime, VLC, etc. Keep reading to learn the best methods and apps to capture small clippings or images from video players on Mac.   

Using Elmedia Player

Elmedia Player is a trending macOS video player that lets you play audio, video, and also stream content using Apple AirPlay. For the multimedia playback part, it can handle almost all file types that users play on a MacBook or iMac. Its supported format table for macOS includes popular file extensions like MP4, M4V, MKV, WEBM, VOB, and so on. 

Among all of its cool features as a multimedia player, one of the best functionalities is taking screenshots while watching videos on the app. You can take one static screen grab or take a series of pictures from a part of the content you’re watching. And the feature comes included with its one-time Pro license purchases which is just $19.99 on the Mac App Store.    

 Elmedia player paused

How to Take a Screenshot of a Video on a Mac With Elmedia

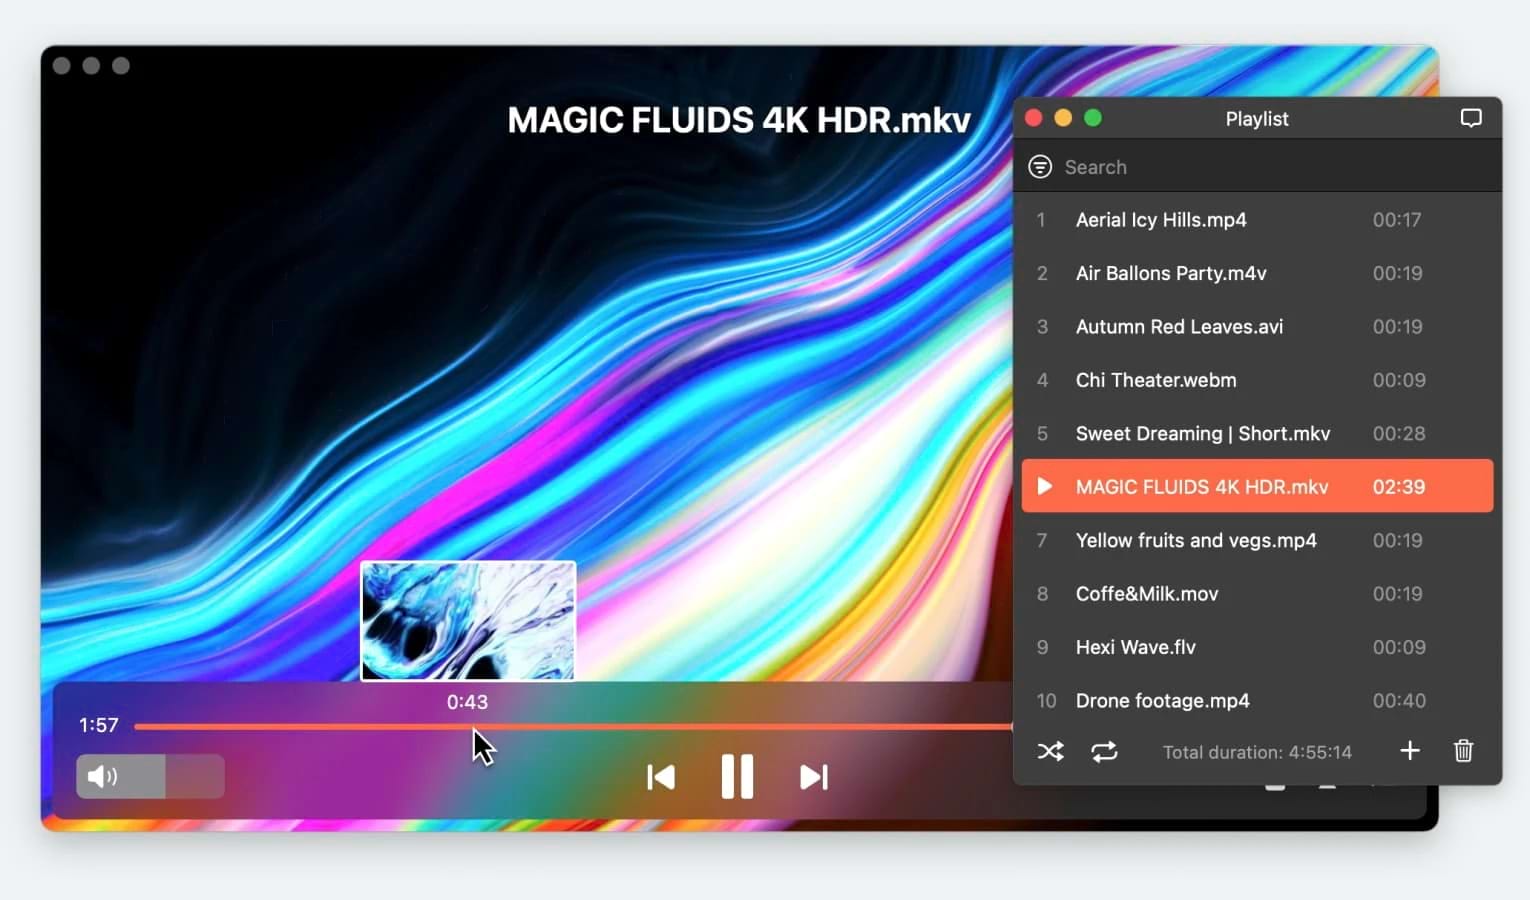
Capturing a quick screenshot on the Elmedia Player Pro edition is easier than most other multimedia players on Mac. Find below the effortless steps you can follow:

1. Open Elmedia Player and play any multimedia file from which you need to create a static screenshot.

2. Pause the scene which you want as a screen grab.

Elmedia player taking screenshot

3. Now, click the Playback menu on the Mac toolbar and then choose the Take Screenshot button on the context menu.

4. Alternatively, when you need to take screen grabs randomly while watching a movie or a TV show, simply hit the Shift + Command + S buttons altogether and capture the screen in an image file.

5. Now, go to the Capture directory to retrieve your screenshot taken on the Elmedia Player.

If you don’t know the location of the Capture folder or wish to modify the location, here’s what you need to do:

1. Click the Elmedia Player menu on the Mac toolbar and then select Preferences.

Elmedia player capture preferences

2. On the Preferences dialog box, click Capture.

3. Click the drop-down list for the Save screenshots to option to select a new location for screen grab files. Usually, the default location is the Elmedia Video Player directory on Mac’s local storage.  

How to Convert a Video Into a Series of Images With Elmedia

The screen-grabbing tool of Elmedia Player doesn’t just create static images. It also lets you take sequential or frame-by-frame screenshots from multimedia playing on the Elmedia Player. To take such screen grabs, follow these instant steps:

1. Start the playback of a video file on the Elmedia Player.

Frame by frame on Elmedia Player

2. Select the Playback menu on the Mac toolbar and hit the Record a Series of Screenshots button on the context menu.

3. When you think that you’ve captured enough screenshots, again click the Record a Series of Screenshots button on the Playback menu to stop it.

4. If you need to convert an entire video into still images frame-by-frame, just let the process progress until the video ends.

5. Go to the Elmedia Video Player folder on your Mac storage to access the image files.

Series of screenshots preferences

There are a lot of customization opportunities for the sequential image grab feature of this ultimate Mac video player. You can go to Elmedia Player on the Mac toolbar, click Preferences, and then select Capture for modification options like the ones outlined below:

  • The output image file type
  • Screenshot interval from 0.1 to 10 seconds
  • Frame by frame

Since the single or frame-by-frame screenshot feature is only available on the paid version, you can buy a license to use this extraordinary functionality. You don’t just buy the screenshot feature but 20 other cool things that every Mac video player must contain.

Using Keyboard Shortcuts on Mac

The Screenshot tool is the built-in app you can use to capture images or video recordings of your Mac’s screen. It offers a selection of user-friendly tools to make taking screen grabs and on-screen video clips effortless. This program allows one to specify what to capture, an option to set a timer delay, etc.

You can use the following keyboard combinations to take different kinds of screen grabs on Mac: 

  • Command + Shift + 3: take a picture of everything on the screen
  • Command + Shift + 4: shows the macOS screenshot tool for a manual image or video grabbing
  • Control + Command + Shift + 4: lets you create an image from a manually selected portion of the Mac screen

The keyboard shortcuts method isn’t efficient to take professional screenshots of multimedia playback on Mac. Because, it’ll show additional interface elements like borders, menus, buttons, etc. 

Using QuickTime Player

QuickTime Player is the native video player for MacBook and iMac devices. In addition to playing media files, QuickTime Player also has a range of features such as basic editing tools, screen recording, and the ability to stream content over the internet. Find below the quick steps to grab a screenshot from a video on Mac:

1. Launch the QuickTime Player and import a multimedia file in it for playback.

New screen recording QuickTime

2. While the media is playing, click File on the Mac toolbar and select New Screen Recording. The keyboard shortcut for this action is Shift + Command + N.

Screen recording on QuickTime

3. The macOS built-in screen-grabbing interface will pop up. 

4. On this tool, you can choose from selections like Capture Entire Screen, Capture Selected Window, Capture Selected Portion, Record Entire Screen, Record Selected Portion, and Options.

5. For video screenshots, hit the Capture Entire Screen selection.

You must have noticed that the image capture feature of QuickTime is pretty manual and complicated. You must remember many hotkeys to take accurate pictures from a movie. Instead, the Elmedia Player is more natural for single or frame-by-frame screen grabbing.     

Another Screen Record Programs for Mac

Let’s explore more Mac apps that enable you to create still images from a video playback below: 

Movavi

The Movavi Screen Recorder is a Mac app you can use to capture computer screens and record any activity you perform on it. Thus, users can also create pictures from video playbacks. It offers three different modes for screenshot capturing. For on-screen videos, you may choose the Custom area functionality on Movavi. There are a few keyboard shortcuts as well for quick screenshots. The tool costs you $42.95 for the whole year or $59.95 for a lifetime license.  

Movavi

Screen Capture

Screen Capture is a free online screen-grabbing tool that you can use on the Safari web browser. It can let you create videos of what’s happening on the Mac screen. It isn’t able to create still images of select video portions, screens, or scenes. If you choose to use this app for screen grabbing from videos, you’ll have to use another tool to convert the video recording to still images. Instead, the Elmedia Player can cut the additional steps and get you shareable images in a few seconds.  

Screen Capture

Loom

Loom is a video messaging platform that offers screen recording and screenshot features. Its on-screen content-capturing feature includes choices like Camera only, Screen only, Screen and Camera. Hence, if you wish to produce an image from a video scene, you can use the Screen only choice. However, Loom isn’t a dedicated video player or editor app for macOS. Thus, there are limited modes for screen grabbing like it lacks frame-by-frame or sequential screenshot functionality. You can start using Loom screen capturing for free or pay $8.00/ month for the Business plan.       

Loom

VLC

VLC offers a basic but functional screen recording and screen capturing tool for users who need entry-level functionalities. With its various encoding options and keyboard shortcuts, you can easily record the Mac screen or capture images for various purposes. Since the VLC Media Player for Mac is open-source software, you don’t need to pay for it. However, the feature of frame-by-frame screen capture is also not available in this freeware app.

VLC

Apowersoft

Apowersoft screen recorder works online via the Safari or Chrome browser on your Mac. Hence you don’t need to install any app or pay for app licenses. However, its online screen-grabbing options are pretty basic. You can only capture the screen as a video file. There’s no way to convert the video into pictures. You must use other tools to accomplish this task. 

Apowersoft

Conclusion

So, now you know various ways to capture a still image from an on-screen video on a MacBook or iMac. After trying out all the apps mentioned in this article, it becomes clear that the Elmedia Player is a win-win option for you.

You’re getting an outstanding video player for Mac along with various video editing features like screenshots, burst image capture, custom file formats for captured images, and more. Give the Elmedia Player a try now and experience the difference yourself.

Frequently Asked Questions

You can capture one or many screenshots from a video on Mac using the Elmedia Player. It offers both single and frame-by-frame screen grabbing. Contrarily, if you need to capture a screenshot video of your Mac screen, you can hit Command + Shift + 3 and start recording a video.  

Your MacBook and iMac come with a native screen recording tool. You can either use the QuickTime Player’s New Screen Recording feature or the Screenshot tool on Launchpad to take a screenshot video on Mac.